What is Bleed?
Bleed is an extra area around your artwork which helps to make sure there are no inconsistent edges as trimming isn’t always exact. If you want your artwork to go to the edge of the print (background colour or image), you will need to extend your design to fill the bleed area. Note the bleed size can differ between products but a minimum of 3mm is the standard.
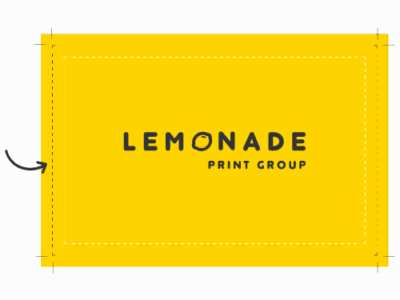
Bleed Area
The background colour is extended beyond the edge of your artwork.
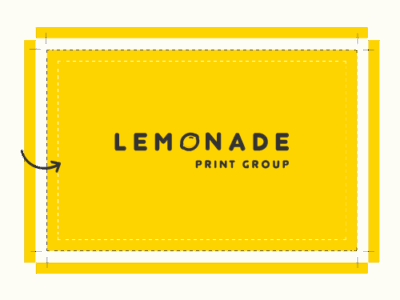
Safe Area
Please keep all important graphics inside this 5mm area
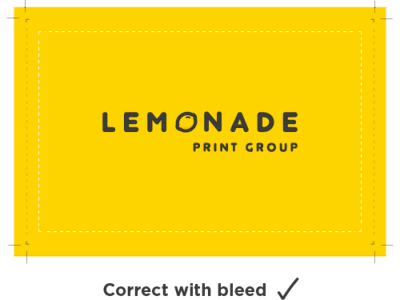
Correct with Bleed
When sending over the file to be printed you’ll know that it has the right bleed if the crop marks go into the printed area. Otherwise, you will have a situation where the crop marks still appear on the outside of the background colour or image.
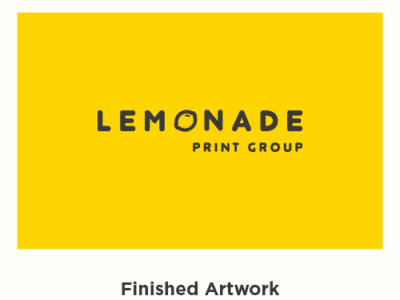
Finished Artwork
Congratulations! You’ve set up your artwork with bleed and crops so then when it comes to print you’ll get a beautiful looking product with no surprises.
Helpful Tip
You can add bleed to your document in Adobe Illustrator and InDesign when saving as a PDF, be sure to enable document bleed settings in the dialogue box.
If you’re using Microsoft Word, PowerPoint or Adobe Photoshop you will need to make your page size 6mm bigger at the start.
For example, A4 is 210x 297mm so your page with bleed will be 216 x 303mm.
Still Unsure?
We have a number of blank templates you can use, set up specifically for our various products. Get in touch and we’d be more than happy to send you these for free.
What is image resolution?
Image resolution and when relating to resolution in print artwork is a reference to the number of dots or pixels per square inch (dpi). The higher the dpi, the greater the resolution and the better the image quality. When you set up artwork for print, you should always start with a resolution of 300dpi

When you artwork in on screen it's usually displayed at 72dpi.
When your artwork is printed it will be 300dpi so the print result will be different from how it appears on screen
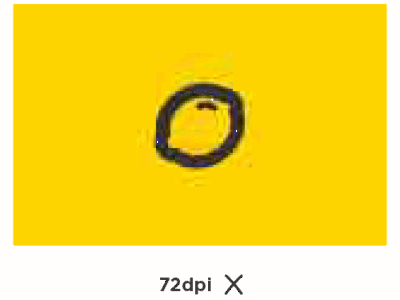
Logos or images saved from web pages will usually be 72dpi. This is to save on the file size so that web pages load faster. These images will look good on the screen but will not print particularly well.
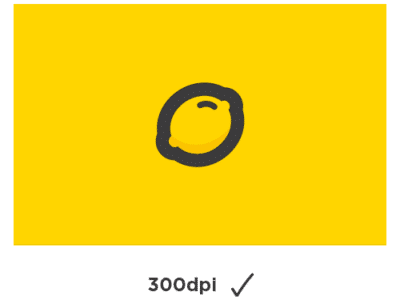
Images need to look crisp at 300dpi in order for them to print well
Helpful tip
When previewing your PDF on screen in Adobe Acrobat, if you zoom into 100% this will provide the closest representation as to how your artwork will print, if your imagery looks pixelated it will print this way. If you’re setting up artwork for a large format product (i.e a PVC banner) slight pixelation shouldn’t affect the performance as it’s intended to be viewed from a distance.
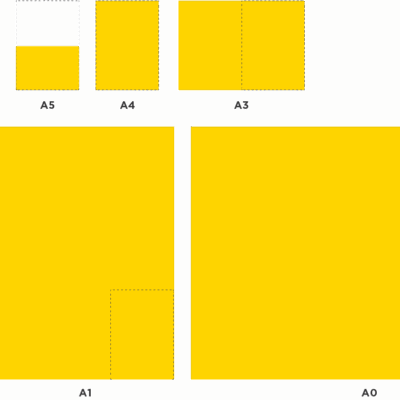
A-size dimensions
A0 841mm x 1189mm
A1 594mm x 841mm
A2 420mm x 594mm
A3 297mm x 420mm
A4 210mm x 297mm
A5 148mm x 210mm
A6 105mm x 148mm
A7 74mm x 105mm
DL 99mm x 210mm
What’s the difference between CMYK and RGB?
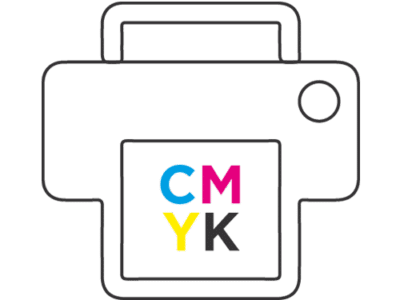
CMYK stands for Cyan, Magenta, Yellow and Black. Toner and ink colours used to product printed products
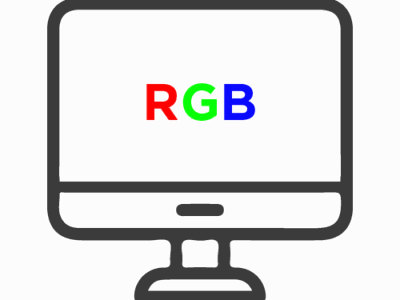
RGB stands for Red, Green and Blue to make colours on screen. These are the colours used to products anything you see on screen.
Why do print files need to be CMYK?
The RGB colour spectrum is much larger than the CMYK spectrum. This means that some colours, like fluorescent orange and green, aren’t available within the CMYK spectrum. Commercial printing presses print onto white paper, so to get the best end product it’s a really good idea to convert your designs to CMYK before you send it to us. Even if you send an artwork file in that’s not set up in CMYK, we’ll automatically change it for your when we send your proof.
Setting up black for digital print
If we’re printing your project through our digital press, and you’d like to include a black background you will need to set this up as a mixture of CMYK to get the best result/rich black coverage. For example, C-40, M-40, Y-40, K-100. If the black is set up as a percentage of black only you’ll be left with a mottled grey result.
What are spot colours?
Spot colours (sometimes called solid colours) are pre-mixed inks that are used when creating printed products through litho process. As the inks are pre-mixed this means you can achieve colour results which aren’t possible through CMYK digital process e.g. metallic or bright shades, you can also achieve consistency across a number of printed products.
Unlike CMYK, spot colours can be specified using a universal reference system e.g. Pantone but you must set the colour to a spot reference in the PDF file otherwise it will be a make up of CMYK.
Helpful tip
If you supply a file which is set to RGB we’ll need to convert it to CMYK for printing, this does mean the colour will change slightly therefore, the printed result won’t be the same as shown on screen.
When to use CMYK, RGB and Spot Colours:
- RGB should be used for on screen digital artwork.
- CMYK is suitable for printed artwork when colour accuracy and consistency is not essential.
- CMYK is suitable for low quantities of printed artwork on a small budget (digital print)
- Spot colours are suitable for printed artwork when colour accuracy, coverage and consistency are important.
- Spot colours are suitable for printed artwork when unusually bright or vibrant colours are required.
- Don’t assume the colours you see on your screen will appear the same as they do on another screen.
- Don’t assume printed items will be the same colour as the artwork you viewed on your screen or created on your own printer.
- Request proofs if you’re concerned about colour.
Proofing Guide
Checking proofs
Before we can print any job, we need to make sure you are 100% happy, therefore we need you to ‘proof’ the artwork. The old saying goes “measure twice, cut once” it’s much easier to make changes at the proofing stage than after we’ve got a printed product.
We’ve suggested the key areas to check in the list below, we’d recommend (if you can) getting a friend to give it a once over too. It’s surprising how effective a fresh set of eyes can be at spotting mistakes.
Key areas to check:
- Spelling, grammar and punctuation
- Contact details (phone numbers, names, email addresses, dates, times)
- Size (from tiny A7, to giant A0 – size really matters when it comes to print!)
- Pictures and Logos (are they sharp enough?)
Spelling, grammar and punctuation
Very often, we will retype or copy and paste information supplied when creating a proof. That’s why you need to check every element of the design to make sure it’s correct. And get a friend or colleague to have a read as well as when you’ve been staring at the same piece of artwork for too long you can start to miss things!
Size
When you’re designing your product, it’s common to zoom in to check all the details. For example, when you view a business card, you might be zoomed in at 200%, meaning the text looks a lot bigger than it would in the final printed product. It’s a really good idea to zoom out and view your design at the final printed size (100%) to check that all the text is legible and easy to read.
Pictures and logos
If you’ve supplied us with your own pictures or logo, it’s worth checking that they’ll print clearly. Always use the highest quality pictures you can and avoid scanning existing printed products, like business cards, and using those scanned images for your design.
Lemonade print ready artwork checklist
- Setup as CMYK
- Correct size
- Fonts are embedded or converted to outlines
- All scans resolution are 300 dpi at 100% of the final image size
- Images are embedded in the file
- Files are supplied with 3mm bleed and crop marks
- White text is not set to overprint
- Any multiple-page PDF consists of single pages running from the front cover through to the back cover, including blank pages if needed
- If folded, check artwork is setup correctly for these folds
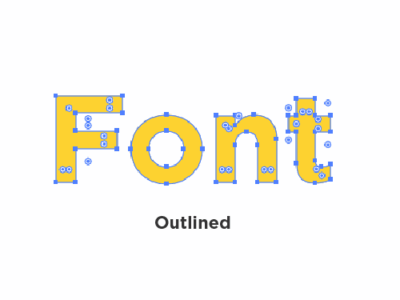
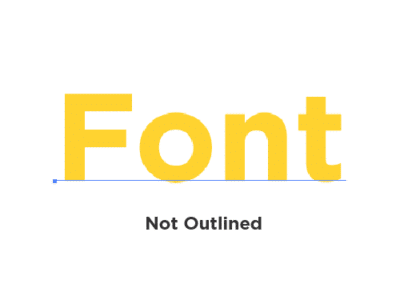
Font Guide
When producing artwork with fonts present it’s important to remember that when the same artwork file is opened on a different computer that does not have access to the original font, the font will most likely be substituted. This means the letters could appear totally different, affecting the text’s size, and throwing off the whole design.
To get around this problem we recommend that you outline all the fonts present in the artwork.
How to outline your font in Adobe Creative Suite

To outline your text in Photoshop, right click the text layer and select convert to shape. This will convert your font into pixels to be printed.

To outline your font in Illustrator and InDesign you will need to right click your text and select create outlines. Alternatively, you can select create outlines from the type menu at the top of your screen.
What is font embedding?
Embedding a font means to save the font information within the document. This normally happens when you save your file as a PDF.
Helpful tip
Once outlined, text is uneditable so remember to keep a copy of the original design in case you want to make any changes in the future.
How do I embed my fonts?
If you’re using Adobe Creative Suite, make sure the PDF pre-set is set to PDF/X1a to ensure all fonts are embedded.
What is GSM?
‘Gsm’ refers to how thick, or heavy, the material we print on is. It stands for ‘Grams per Square Metre’ and the higher the number, the thicker the paper. For example, our standard business card paper is 400gsm. Flyers are traditionally thinner, ranging from 130gsm to 350gsm. To give an idea the paper you would usually use in your home or office printer will be around 80gsm.
Here are some popular paper choices by product:
- Business card – Silk 400gsm
- Flyers – Silk 170gsm
- Postcard – Matt 350gsm with gloss to one side
- Greeting card – TruCard 300gsm
- Letterhead – Matt 120gsm
- Booklet – Matt 250gsm cover with Matt 120gsm inner
If you’re still unsure, you can order a free sample pack here.
What is Lamination?
Lamination is a special coating, or finish we can add on to certain products such as leaflets, business cards and booklets. It means you can make your products matt (smooth and not shiny), glossy (super high-shine) or velvet (soft finish that adds depth to colours and feels great).
This is not to be confused with encapsulation which is when the whole product is covered with a thin layer of plastic and sealed around the edge making it resistant to water and other liquids.
If you’re still unsure, you can order a free sample pack here.